
Have you had an increase in opt outs? Or perhaps you've just accumulated a few opt outs and are not quite sure how to combine them all!
You have two options, either run an Advanced Search from the Contacts tab or run a custom report.
Advanced search is a great tool if you want to add these contacts into a group and delete them from the system there.
To start, you'll need to navigate to the Contacts tab from the Send homepage. Once there, make sure you're in the Contacts section and click the Advanced drop down menu.

Select Advanced Search and add in Opted Out as your field and Yes as the match. Run the search and that will pull all of your contacts who have opted out.
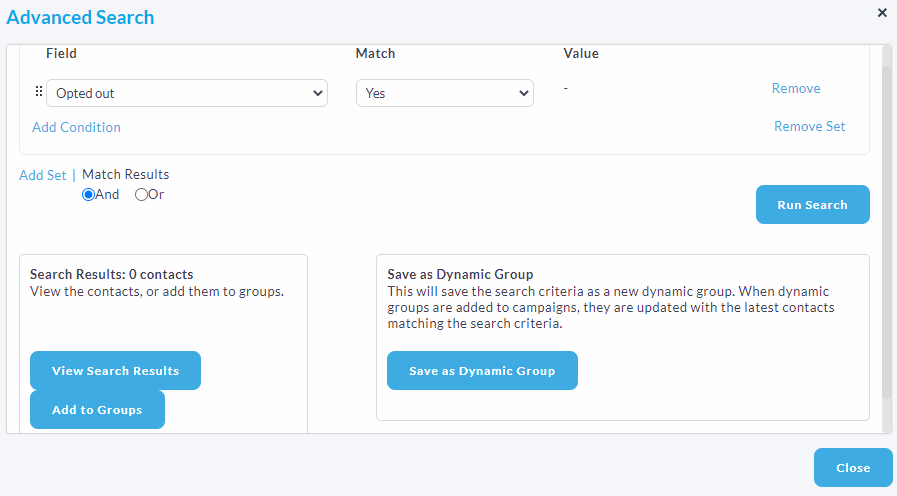
From here you can view the search results, add to a contact group or save as a Dynamic group. Usually we'd just recommend to create a generic contact group and delete from there but if you're interested in how Dynamic groups work, click here.
Clicking Add to Groups will allow you to tick which groups you'd like the contacts to sit in, you can choose an existing group or create an entirely new one.
Once you've created a group with all the opt outs, navigate to Contacts > Groups > Click into the group > Tick the box to select all contacts > Perform > Delete. That will delete all of the selected contacts entirely from the system.
The other option would be to run a Custom Report to grab all of the opted out contacts, which is a bit more customizable.
Navigate to Reports from the Send homepage > Custom > Create a Custom report > Contacts > Opted out > Continue to confirm and run. From here you'll be able to customize over which group/client/user (dependant on your user rights) as well as the time frame and other details.
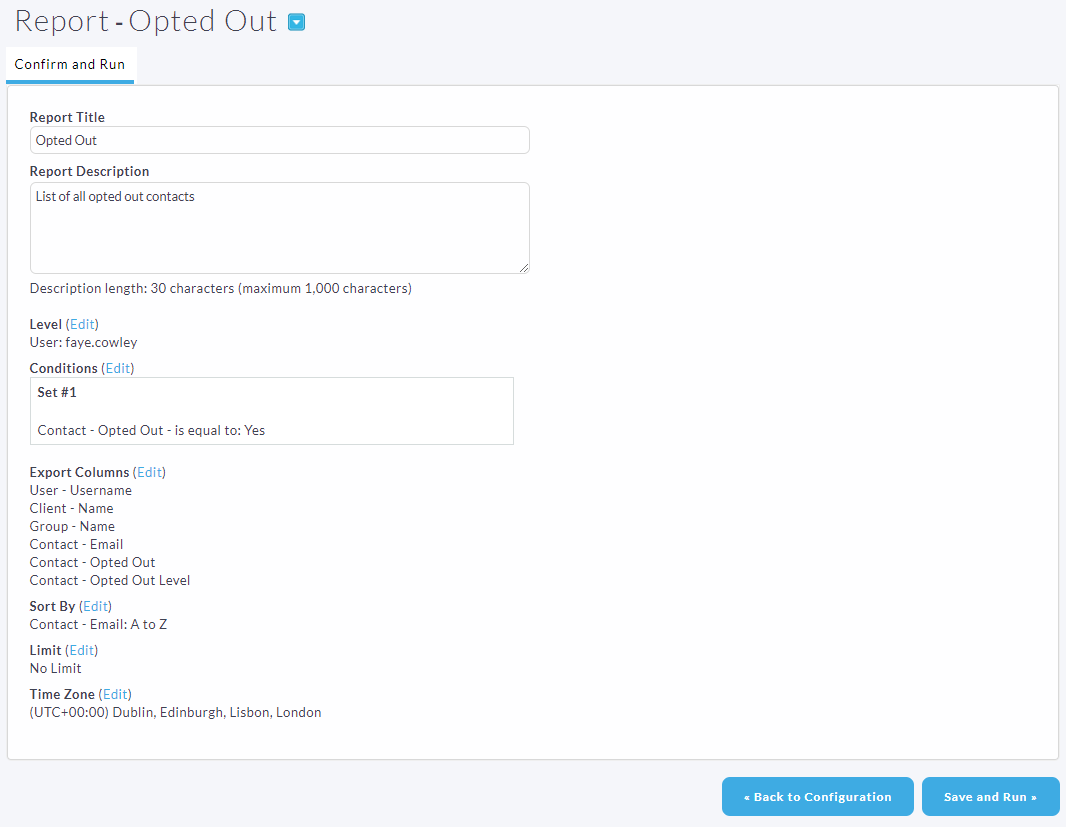
Once you're happy with the customizations, click Save and Run where your report will start to pull all of the data set by the conditions. When it's finished running, click Download where you will see all of the contacts that have opted out in a spreadsheet.
Comments
0 comments
Please sign in to leave a comment.