
Do you need an extra bit of personalisation when sending out your communications to your recipients? Dependent on the type of communication, you may need to go beyond the default fields available (i.e. First name, Job title, etc.).
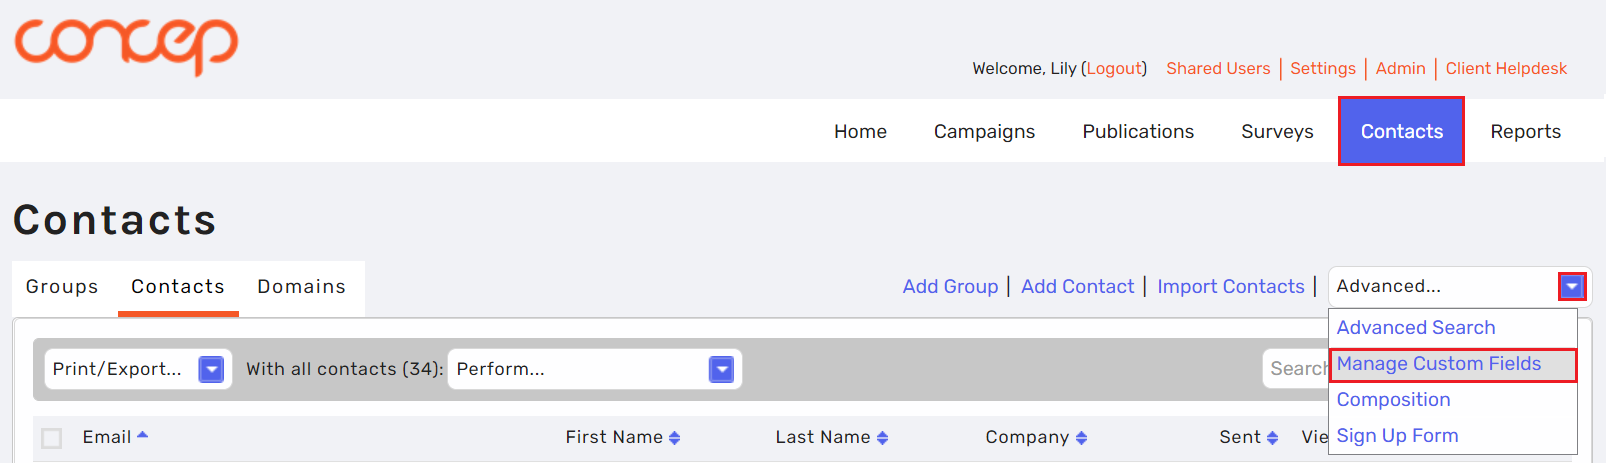
You can locate Custom Fields in Contacts > Advanced > Manage Custom Fields.
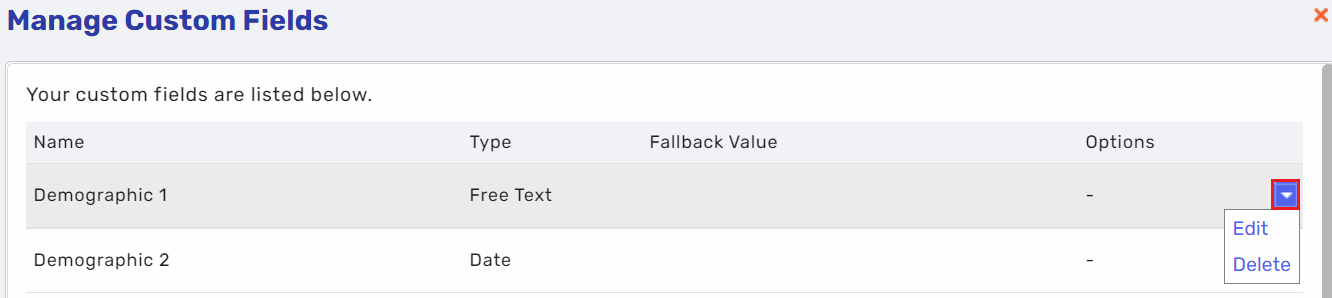
To edit or delete existing Custom Fields, click the drop down arrow. To add a new Custom Field, click the Add Field button.
There are four types of Custom Field which constitute the four different 'styles' you can use to insert information against the specific contact.
- Free Text: any type of text can be inserted here.
- Date: only a date in the format of dd/mm/yyyy can be entered against the contact.
- Multiple Choice: you define the options then select the relevant one for the contact.
- URL: only a web URL can be inserted. When entered into a campaign as a Mail Merge, it'll turn into a clickable link.

Every Custom Field created will need to have a name, but the Fallback Value is completely optional. Sometimes we see clients use a Fallback Value so there isn't an empty space when they insert a Mail Merge.
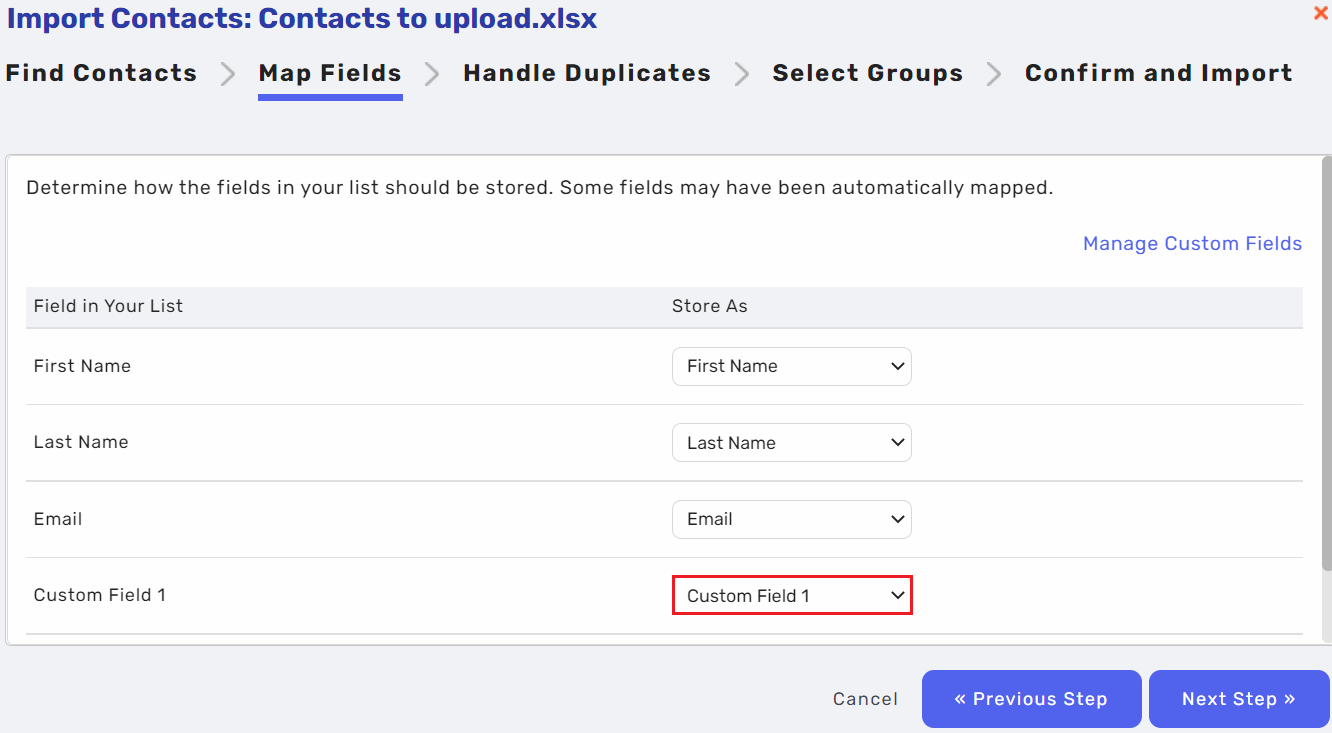
Once you have added your Custom Fields, you can either upload a spreadsheet of contacts and map a column to your Custom Field (which will now appear in the drop down menu) or you can edit your contact and insert the values in the Custom Field section.
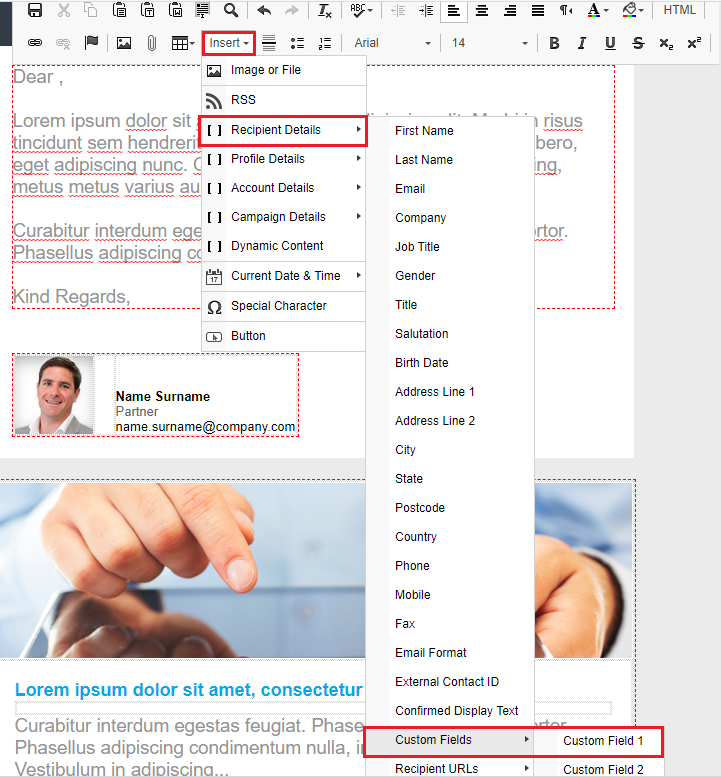
After you've attached values next to your fields you'll be able to insert them into your campaign to make for a more personalised communication.
Comments
0 comments
Please sign in to leave a comment.