
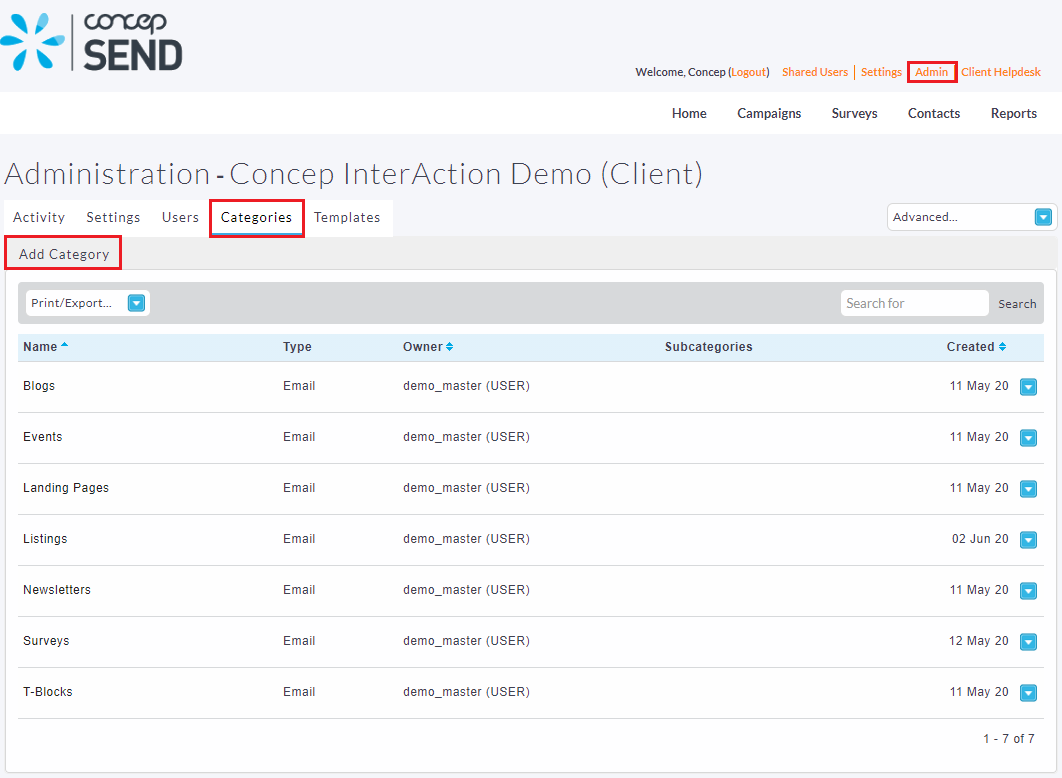
The Categories menu allows you as an Administrator to group Email Templates together to provide a more organised view for you and your colleagues. Essentially, if you have several Templates added to a specific category, this opens up the functionality to group and manage Templates depending on their use. These categories can then be shared across different accounts i.e. at Group, Client and User level.
To add a category simply click on the "Add Category" button under the Administration section.
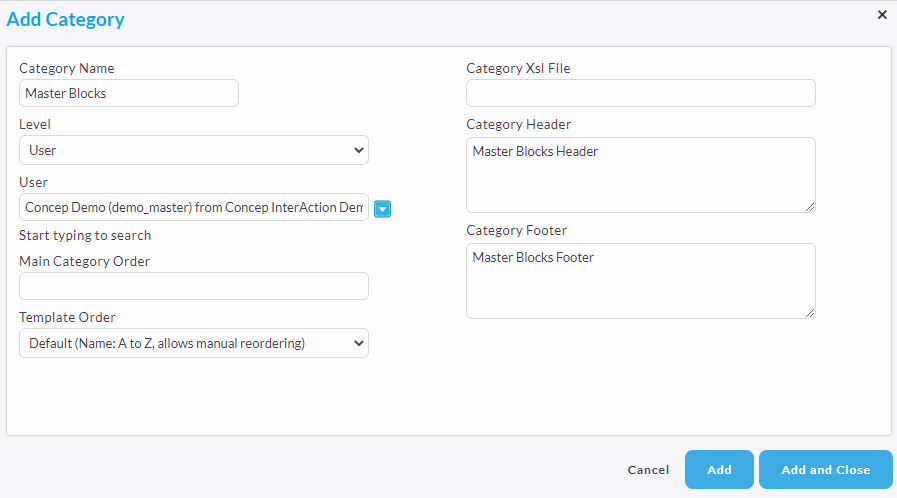
You will then be prompted to enter the details needed for your new category.
 This information will help to define the category i.e. you are able to specify:
- Category Name: What your Category will be called
- Level: What level you wish to share it with i.e. Group, Client, User. You will then be able to specify which one.
- Template Order: Define the order you wish to view the Templates in i.e. A - Z, Newest to Oldest etc.
- Category Header: Here you will be able to add a header above the Templates within the Category.
- Category Footer: Here you will be able to add a footer below the Templates within the Category.
Once you're finished click the Add button.
After the Category has been added you can click the drop down arrow on the right hand side to Edit and Share.
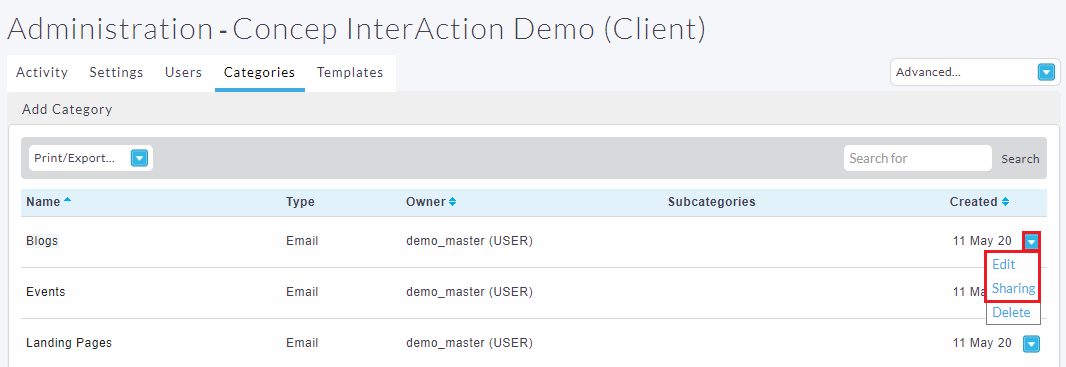
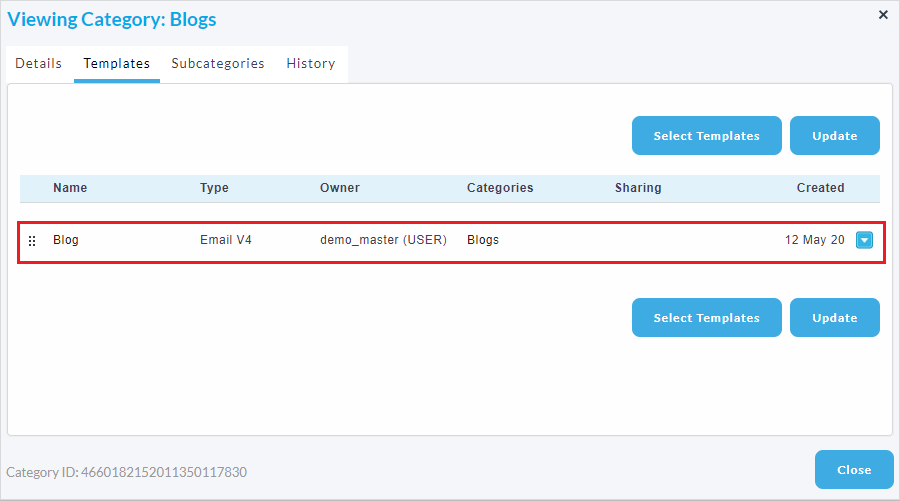
Editing will allow you to add Templates to the Category and Sharing will allow you to share your newly created Category with either a Group, Client/s and Users.

If you have any questions on creating a Category, please contact our Support team.
Comments
0 comments
Please sign in to leave a comment.