
Some images can cause issues when uploading if they have not been designed for the Web. The optimum properties for an image used in Send are:
- No larger than 650/700px (pixel width)
- No bigger than 400KB (size)
- A resolution of at least 70 dpi
For more information on how to manually and auto resize images click here
To resize/edit images the optimum process is to edit prior to importing or do so within the Content section. Resizing in the Template or using the drag function can cause the image to render in an unintended size.
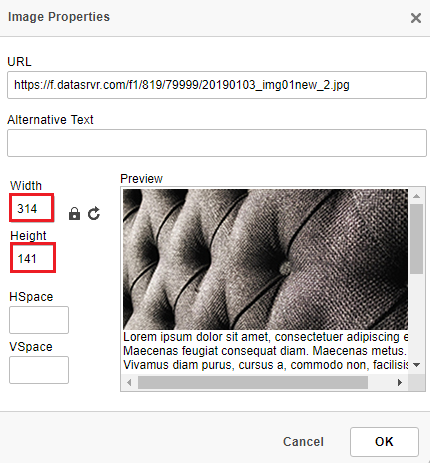
To resize an image, go into your Campaign and double click the image. To edit the Height and Width click the padlock to make it editable. Then readjust your Width and Height to your preferred size. Having the padlock closed means it will auto size the image to fit the Campaign.
To make sure your Campaign will render the image correctly, please make sure to previously resize the image in your Content Library.
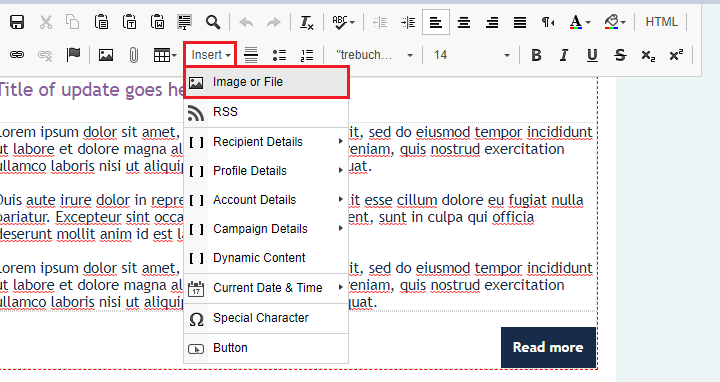
Navigate to the Content Library via the Insert tab in the toolbar. (You can also access it by dragging in an image block and clicking on that).
Once in the Content Library, click the drop down menu next to the image you wish to resize.

This will open up the resizing window which gives you the option to pick from four preset sizes (Selected Image, Small Banner, Banner, Thumbnail) as well as allowing you to enter the Height and Width.
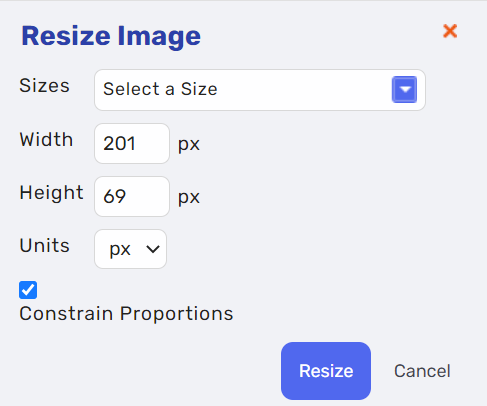
Please note that ticking the Constrain Proportions will automatically adjust the Height or Width dependant on which one you enter first. So, if you have a precise size you need to enter, make sure this option is unticked before doing so.
Comments
0 comments
Article is closed for comments.