Introduction
You can send email campaigns to leads by adding them to a marketing list, searching for them with the Advanced Find tool or just by selecting them on the Leads page. In this guide we will show you how to send from the Leads page.
Prerequisites
- Email Marketing Sender role assigned to your Microsoft Dynamics CRM user.
- At least one Send Account assigned to your Microsoft Dynamics CRM user.
1. The first step is to access the Leads page. The Leads page can be found in the Marketing or the Sales section on the navigation bar.

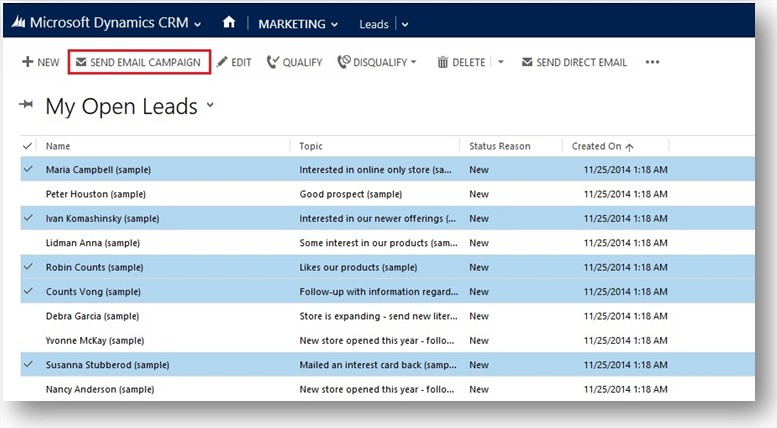
2. Once you are in the Leads page select which leads you wish to send your campaign to and then click on "Send Email Campaign".
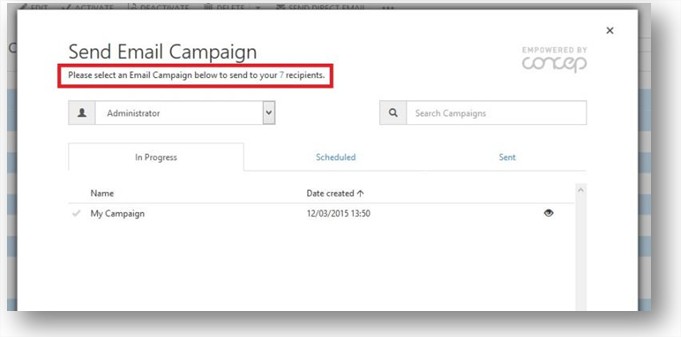
3. After clicking on the “Send Email Campaign” button a new window will load. This is where you can choose the Email Campaign you wish to send to the leads you have selected. The message on the top of the window tells you the total number of recipients the campaign will be sent to. By clicking on this you will have detailed information of which leads have been removed from the list and the reasons for this (e.g.: doesn't contain email address).
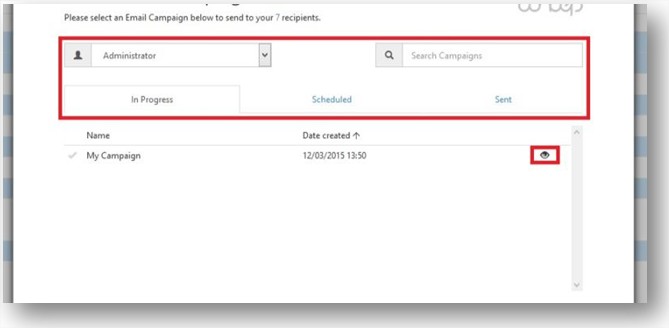
4. Firstly select the Send account your email Campaign was created in by using the drop down menu on the top left (when loading it will display the last Send Account used). On the right hand side of the page you will find the search function. You can search for your email campaign by typing its name in the search box or by navigating through the status tabs (In Progress, Scheduled and Sent). New email campaigns will always be listed in the "In Progress" tab. Once you find your email campaign you can preview it by clicking on the eye icon.
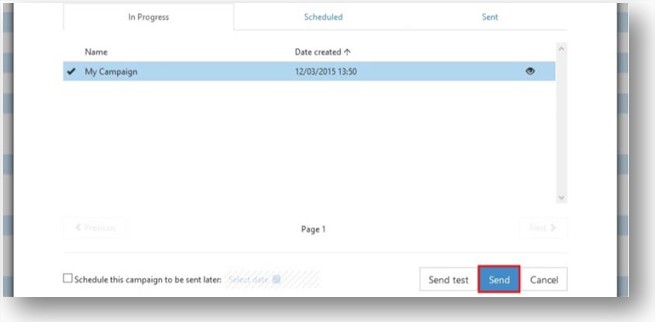
5. Select the email campaign you want to send and click on "Send".
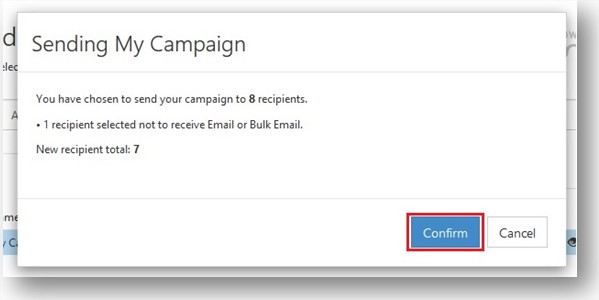
6. A new window will pop up to confirm the number of recipients. Just click on "Confirm" and a message will pop up informing you that your email campaign was sent (it might take slightly longer when sending to a large amount of leads).
Comments
0 comments
Article is closed for comments.