
Please note that admin permissions may be required to complete this task
Email address, first name, and last name fields are exported from Dynamics by default, so you are able to merge these fields into your email campaigns out of the box. However, if you wish to use other information which is stored within your CRM to customise your emails you will need to create a field mapping profile.
Field types which can be mapped include: single lines of text, option text, two options, whole numbers, multiple lines of text, and the date & time field. You can also map two lookup fields: company (parentcustomerid) and owner (ownerid).
Creating a Field Mapping
To create a field mapping, you must navigate to the Concep section of the settings area within your CRM. Here you will find any existing field mappings, as well as the option to create a new mapping.
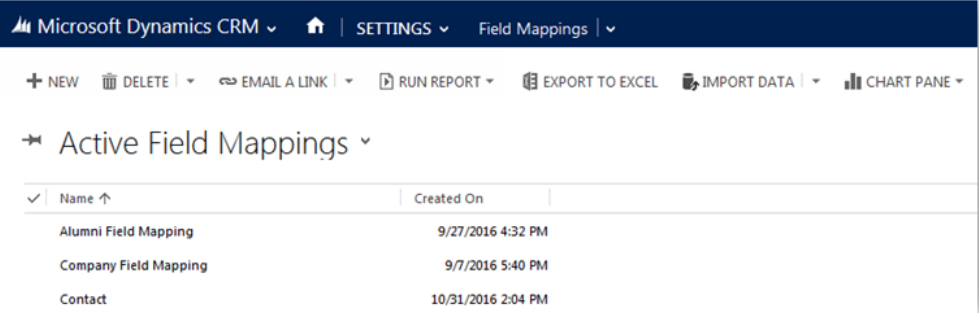
To create a new mapping profile, click on the New button in the toolbar. You will see a screen as below:
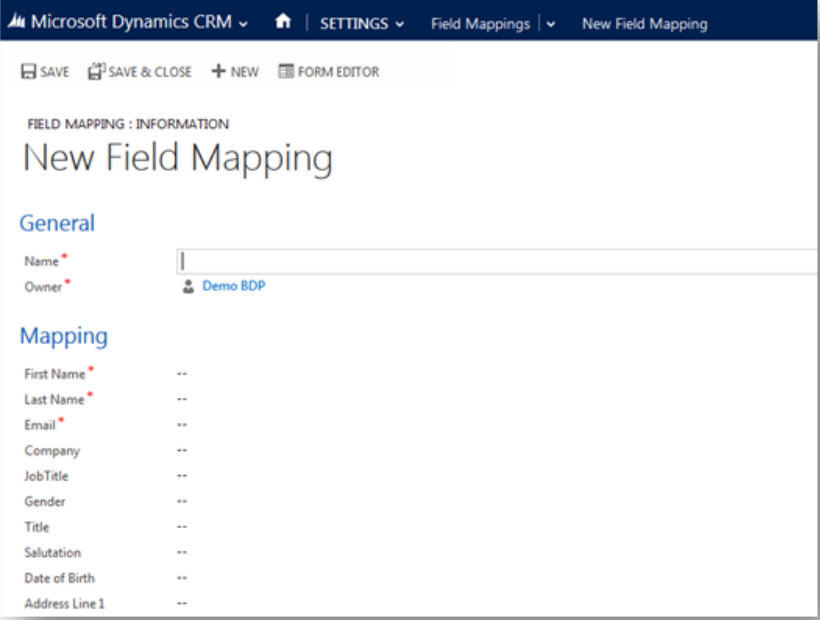
The fields to the left of the form represent the fields that are available for you to personalise your email campaign. These fields belong to Concep Send and must be mapped to fields within Microsoft Dynamics in order to pass the information. The correct name of the Microsoft Dynamics fields (called source entities) must be used in order to create the mapping.
To find the correct name of the source entities that you would like to map, open a new window and navigate to Settings> Solutions > ConcepMarketing within Microsoft Dynamics.
Clicking here will bring up a new screen where you can view all of the system entities. To see the entities that you can use for field mapping, click on Contact>Fields. Here you will be able to see the name of the fields which you can map.
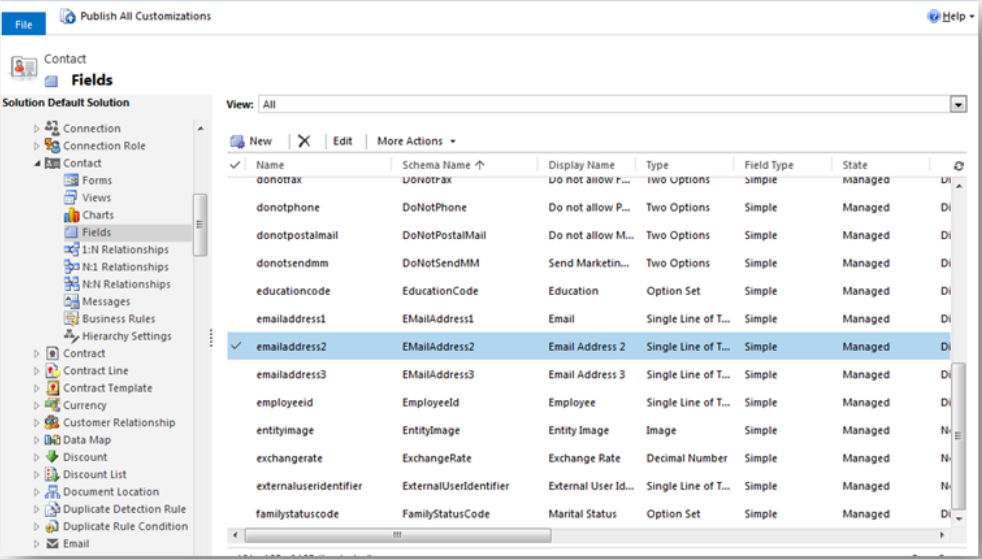
Above you can see that each field has a Display Name and a Name. The Name is the one that you need to use for the mapping i.e. if you would like to send an email to a contacts secondary email address, you will use the emailaddress2 field to make the mapping.
If we continue the example of mapping to a secondary email address, the filed mapping will look as below.
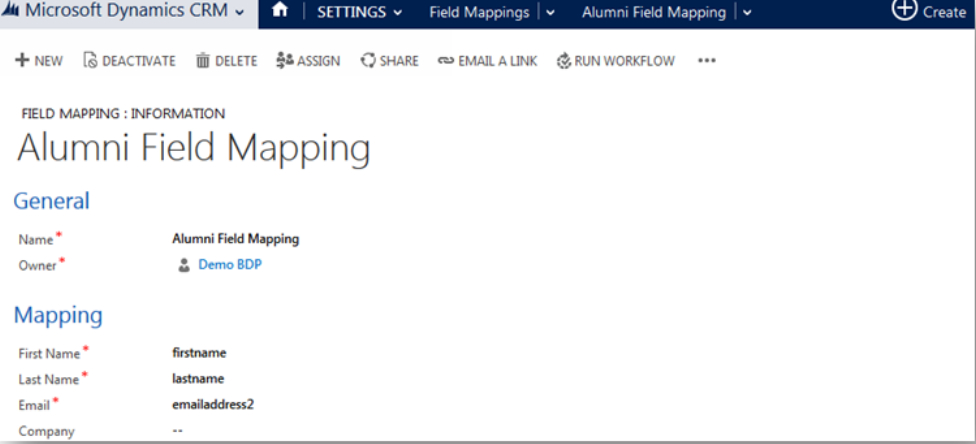
Save and ‘activate’ the field mapping.
Assigning a Field Mapping profile to a Send Account
Field mapping profiles are assigned individually to each Send Account, this introduces flexibility into your configuration. To assign a field mapping to a Send Account, open the required account from the Send Accounts section under Settings
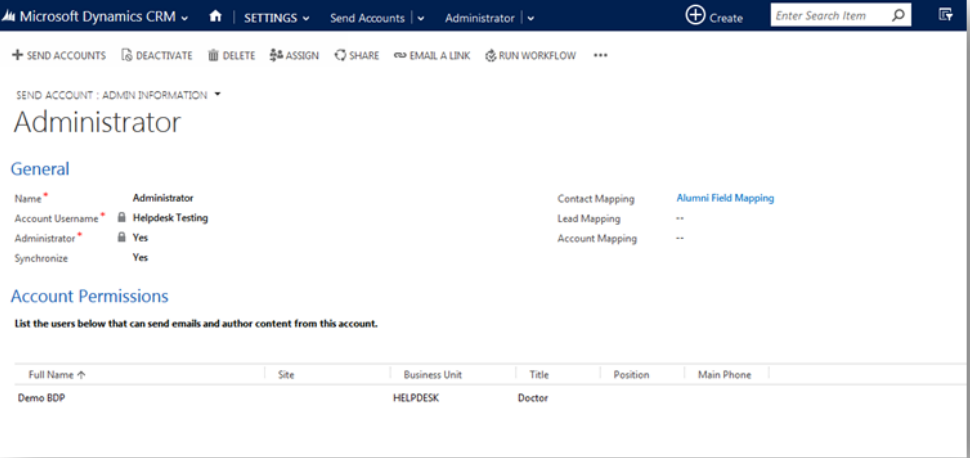
To the top right of the form you will see three fields which specify field mapping profiles for the supported entities – Contacts, Leads, and Accounts. Select the mapping profile you wish to use for each entity type. For the example above we have made a mapping against the contact entity, so you enter that field mapping profile in the Contact Mapping area.
Now whenever you send an email from this account, it will send to the secondary email address for each contact where available. If there are no secondary email addresses available then the email will not send.
Ensure to test your campaign before you send it out.
Please note that there are some field types which cannot be mapped. The fields which cannot be mapped are lookup fields, images, floating point numbers, decimal numbers and currency.
If you would like to map leads the steps above are the same. Just ensure to use the Lead entity (instead of Contact) to make the mapping.
Comments
0 comments
Please sign in to leave a comment.