
This guide details Concep’s advised steps to create a GDPR compliant workflow using GDPR workflow for Microsoft Dynamics and Concep Send for Microsoft Dynamics.
Please note, this is not an exhaustive guide and further processes will be required for your firm to become completely GDPR compliant.
Campaign to track responses
To track your contacts’ responses to your consent campaign, you will need to create one Campaign. Without a campaign the ‘Consent’ and ‘Withdrawn’ options will not be visible when building the survey. It will also allow you to manage the responses in through the ‘Consent Report’ which is further explained in this guide.
Surveys to record consent
To record consent from your contacts you will need to create at least one survey to be able to record the responses. These principles can be used to create sign up forms you to embed on your website or link to for any new contacts.
Below we will detail how to set up three surveys for consent, withdrawal and people not yet in your contact database.
Create a consent survey
Go to Marketing > Surveys in Microsoft Dynamics, create a new survey for contacts to submit their consent.
Map your survey to the campaign you created in the first step of this guide.
Minimum requirements:
- Free Text for ‘First Name’
- Free Text for ‘Last Name’
- Free Text for ‘Email’
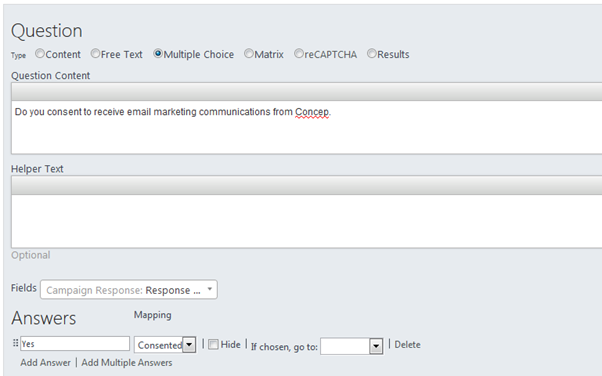
- Multiple Choice that will track consent
Map your Free Text questions to their relevant fields in Microsoft Dynamics. Set these fields to Auto Populate with the recipient’s details.
Map the Multiple-Choice question to the Response Code field. It only needs one option, so map that the ‘Consent’ value.
Create a withdrawal survey
Just like the step before, create a new survey but for withdrawal this time.
Map your survey to the campaign you created in the first step of this guide.
Minimum requirements:
- Free Text for ‘First Name’
- Free Text for ‘Last Name’
- Free Text for ‘Email’
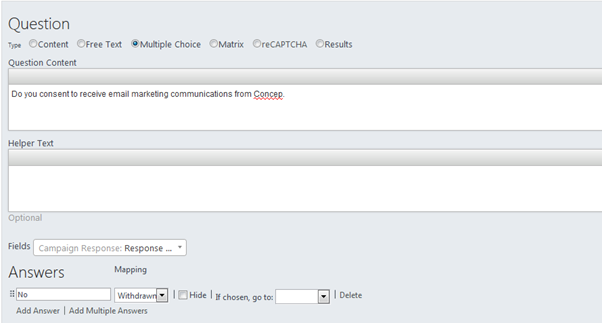
- Multiple Choice that will track withdrawal of consent
Map your Free Text questions to their relevant fields in Microsoft Dynamics. Set these fields to Auto Populate with the recipient’s details.
Map the Multiple-Choice question to the Response Code field. It only needs one option, so map that the ‘Withdrawn’ value.
Create a survey for new contacts
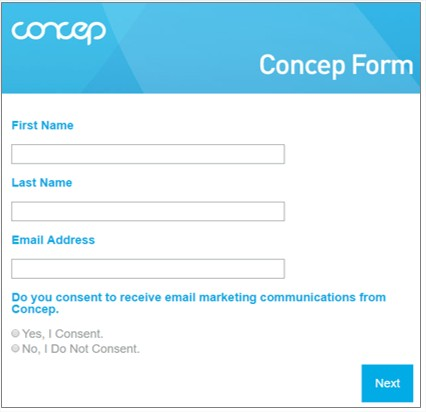
In case your email to request consent reaches someone that is not the intended recipient or is not yet in your contact database, we suggest you set up a blank survey for them to provide or withdraw consent.
Just like the previous two surveys, map your survey to the campaign you created in the first step of this guide and create the Free Text and Multiple-Choice questions. However, to not Auto Populate the Free Text questions and provide both consent options in the Multiple-Choice question.
Email campaign to request consent
This can be a simple campaign that links to the survey(s) you’ve created. In the example below, we have included a link to each of the three surveys we created. There are also mail merges that will populate with the intended recipient’s name and email address.

Sending the email campaign
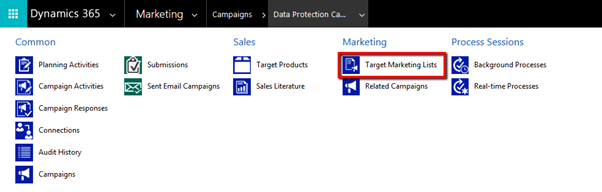
Navigate to Marketing > Campaigns and click on the Campaign you created for your consent campaign (described earlier in this guide).
The first step is to add the marketing lists you wish to use for this campaign. Click on the arrow next to the campaign name to expand the menu and then click on ‘Target Marketing Lists’. Then just add the marketing lists.
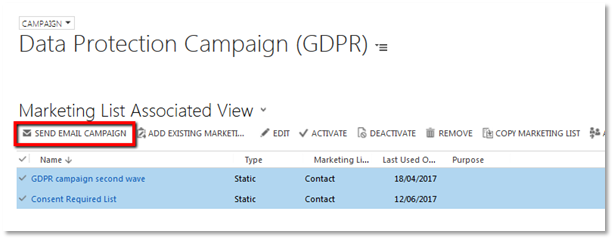
From this view, select the marketing list(s) you want to send your email campaign and click on ‘Send Email Campaign’ button.
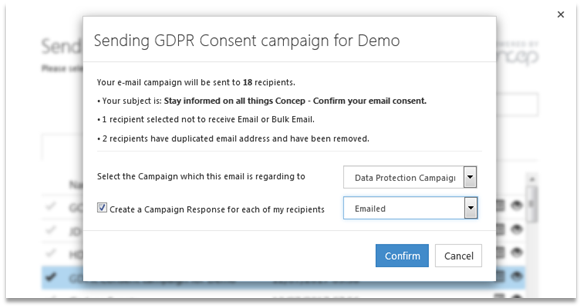
As you move to the last step, you will have the option to create Campaign Response Codes for your recipients. Enable this option and the select the ‘Emailed’ response code.
Tracking consents
When your contacts start to provide or withdraw their consent, you can verify this in the Consent Report form of your campaign.
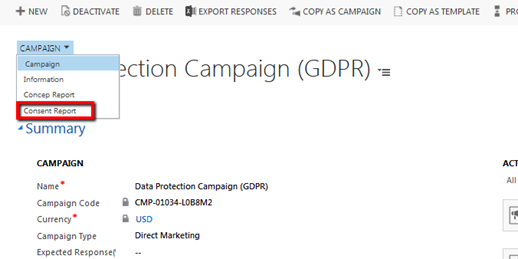
The dashboard provides an updated status of your consent capturing campaign. You can send follow up emails using the ‘Send Email Campaign’ option in the Campaign Response view.
Comments
0 comments
Please sign in to leave a comment.