This article will guide you through the steps of how to create your event workflow in Send.
Firstly you will need to create two contact groups, one for those that are attending and another for those that are not. We'll later be adding an action to filter the attendees into these groups. 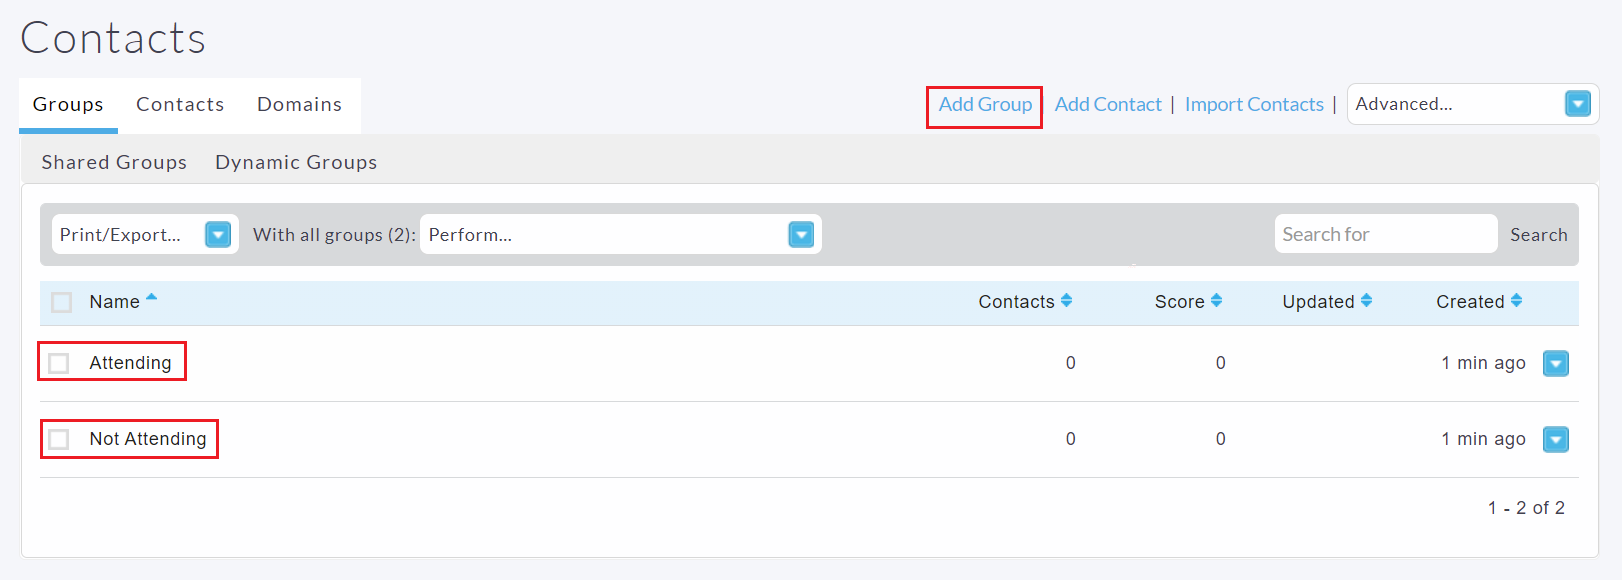
Next you'll need to navigate to surveys and create your RSVP form.
The form will need to have three pages, the main page (RSVP) the secondary page (Yes) and a final page (No). The last two pages are used to redirect the attendee depending on whether they click to attend or not.
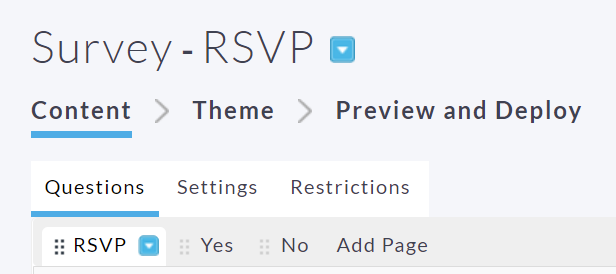
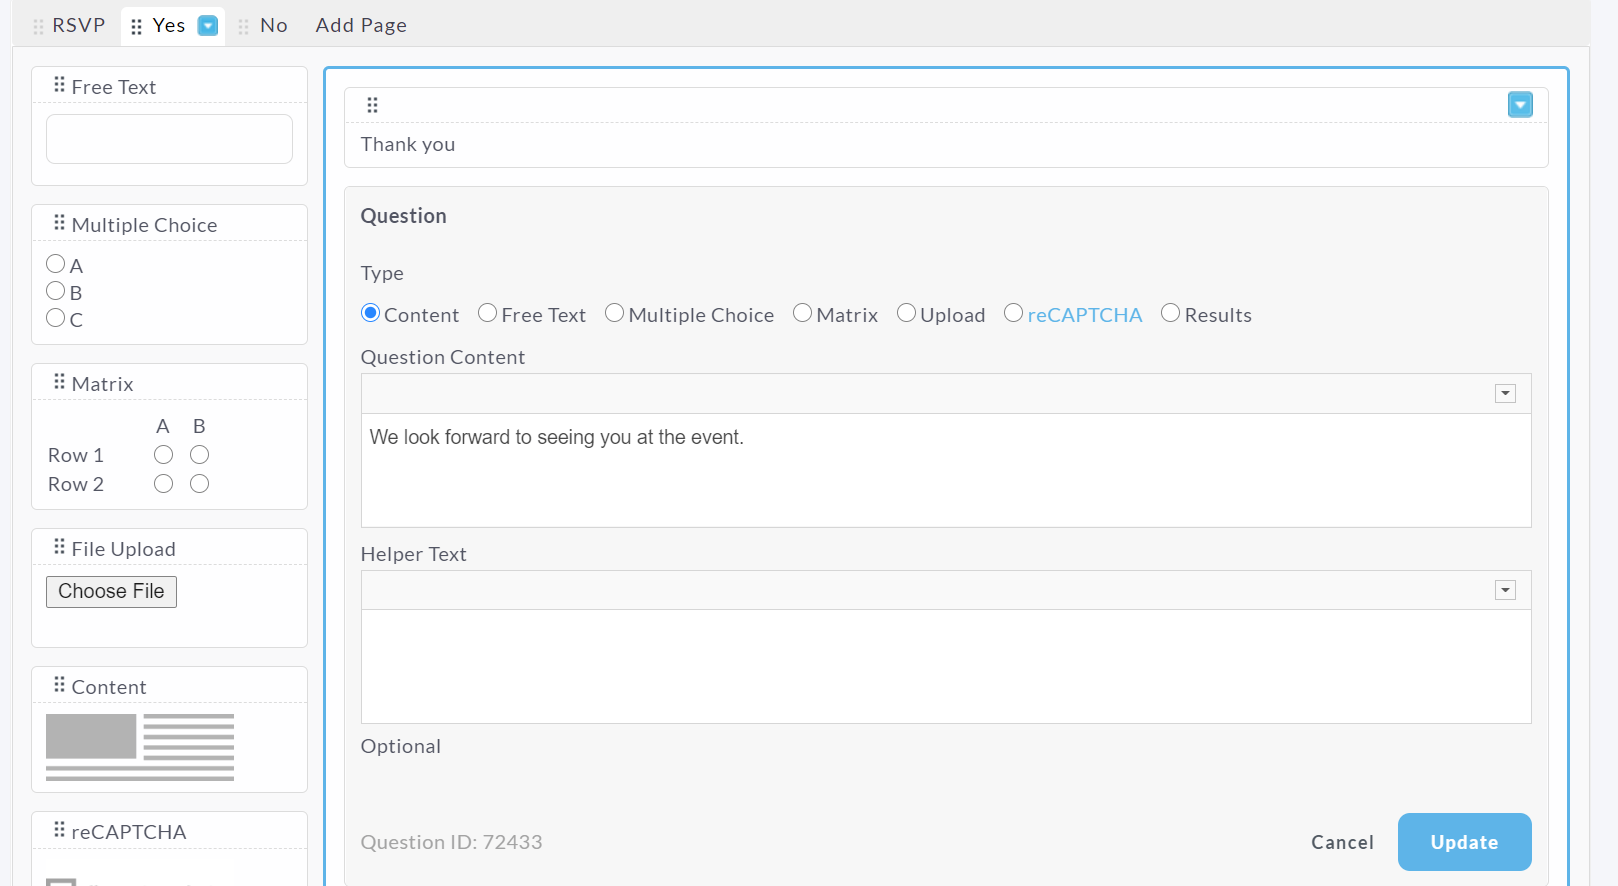
When creating a new page, there will be no question fields so you need to click the Add Question button which will insert a content block. Here you can insert the message that your attendees will see, such as "Look forward to seeing you at our event" or "Sorry to hear you won't be attending".
Then you will need to navigate back to your RSVP page to insert the questions for your event invitation.
Please note: you must always include the First Name, Last name and Email questions as this is what will be needed to create and move the contacts into the groups.
Make sure to restrict the answer to only accept an email address and make it mandatory.
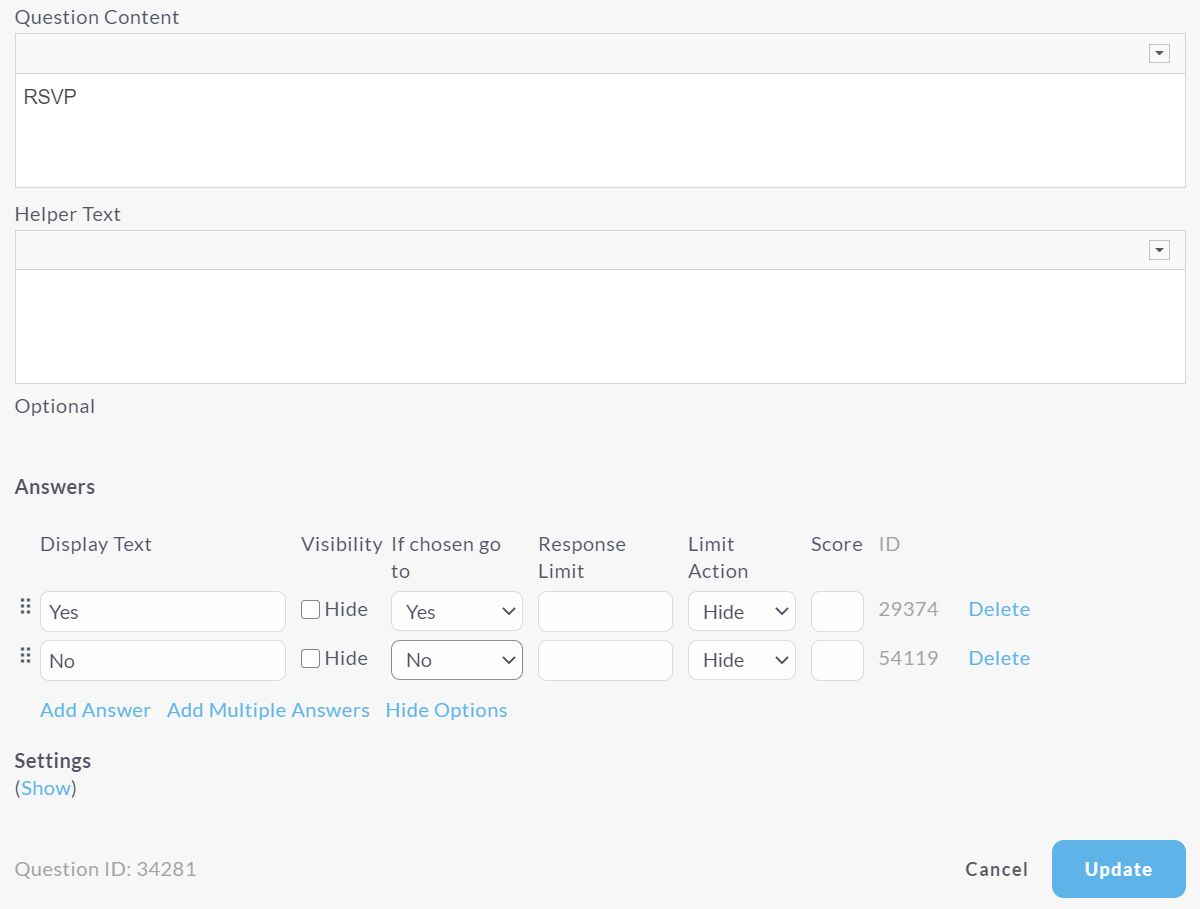
You will then need to include a multiple choice question asking the recipients if they are able to attend the event.
Then you will need to match up the 'if chosen go to' drop down menu to the relevant pages we created earlier.
Once you have completed your invitation, you will need to set up actions for the RSVP page by clicking the drop down menu.
Setting these up will allow you to trigger certain action types such as adding contacts or sending notification emails. For more information about Actions, please click here.
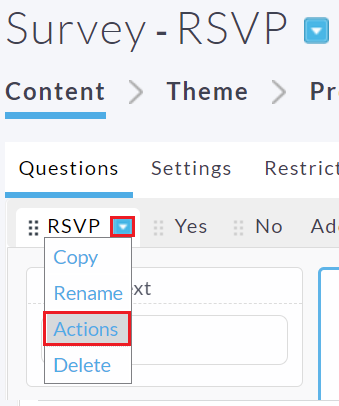
Firstly we will want to send a confirmation email to the recipients who are attending the event.
Please make a separate campaign for this then complete and name the action accordingly.
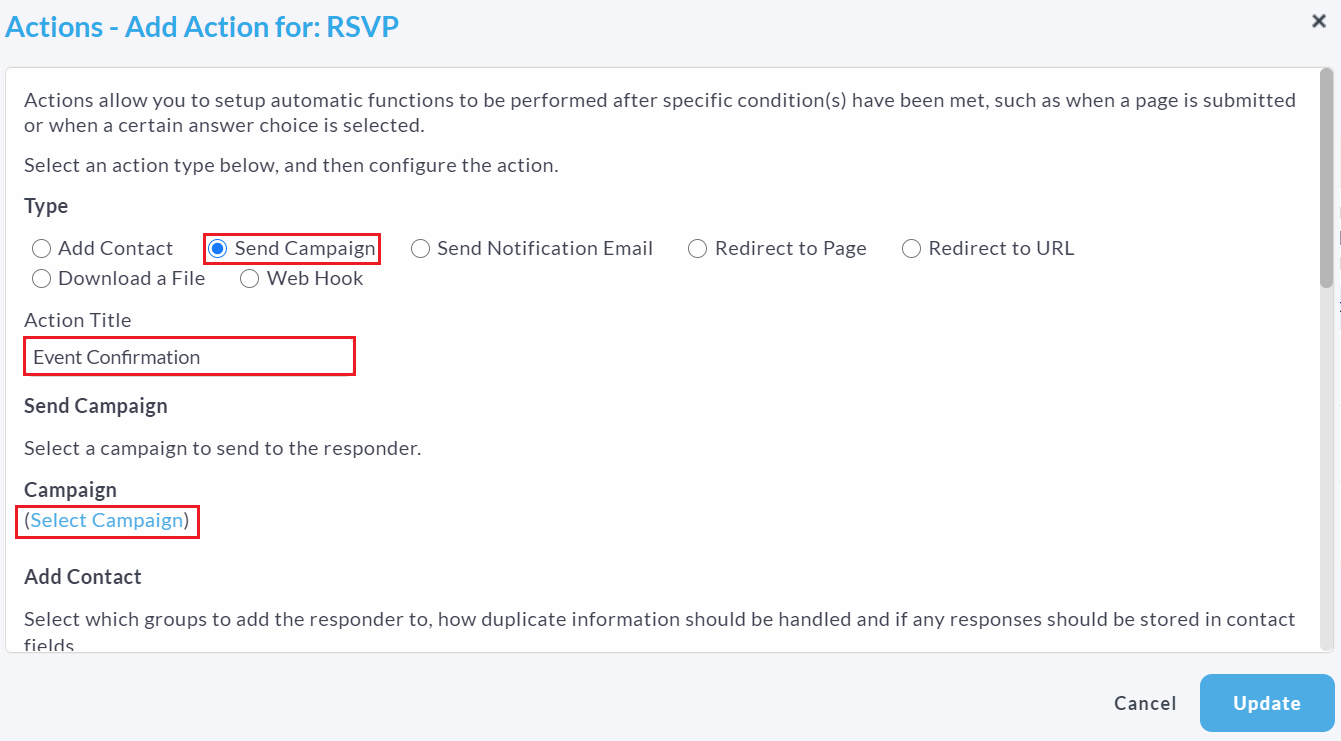
Once you attach your confirmation campaign, you will need to send it to the 'Yes Attending' group by clicking Select Groups.

Once this has been completed, you will need to select the Update option for handling duplicates and then map the answers to the correct fields.


Finally, once all of the fields are mapped, you will need to set the conditions under which this
action is to occur. In this instance, you will want to select the condition to trigger when the recipient clicks Yes to the RSVP question.

For the confirmation email to trigger, you will need to set up another action to pull all the attendees into the Yes Attending group.

Send also gives you the functionality to create an action to pull the contacts that said no to the event into their own group. Follow the same steps above, but select the Not Attending group.
Finally, you will want to click to save all changes you have applied to the survey and continue to deploy.
Once your event has been sent, you may need to create a reminder email. To find out more, please click here.

Comments
0 comments
Article is closed for comments.