
This article will guide you through the steps of how to create your webinar workflow in Send.
For this workflow, you should ensure that you have access to the following:
- A Concep Send account integrated with Zoom or GoTo
- Events Template (Used for Invitation, Reminders and Confirmation emails)
- Branded Webinar Sign up Form
- List of invitees
 |
Are you repeating this workflow a lot? Did you know you can create template blocks with information that's needed for specific comms such as confirmation? Changing only the information you need can help save a lot of time spent on formatting etc. We suggest checking out this article on how to create blocks for more info, or contact our support staff! |
Firstly, you will need to create a contact group to collect your registrants. Later on, we'll be adding a survey action to filter the attendees into this group. This allows you to easily select the group to follow up with at a later date.
Next, you'll need to create your two email campaigns: the main invitation and the confirmation email. Once you are happy with those, send the confirmation email to yourself so that it now appears in your campaign reports. This will allow you to select the confirmation email when we set up the survey actions later.
|
Add the webinar link and details to both the iCal link and the main body of your confirmation email, in case your recipients do not use a mail client that supports iCal functionality! |
Now you can navigate to "Surveys" and create your RSVP form. The form will need to have two pages: the main page (Form) and the secondary page (Confirmation):
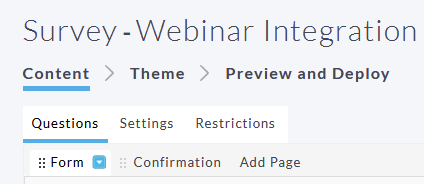
Once you've created the survey, rename the pages to "Form" and "Confirmation" respectively so that you can differentiate between the two.
The confirmation page should not include any questions. You should just include a brief note which the respondent will see once they've submitted the survey (i.e. "Look forward to seeing you at our event").
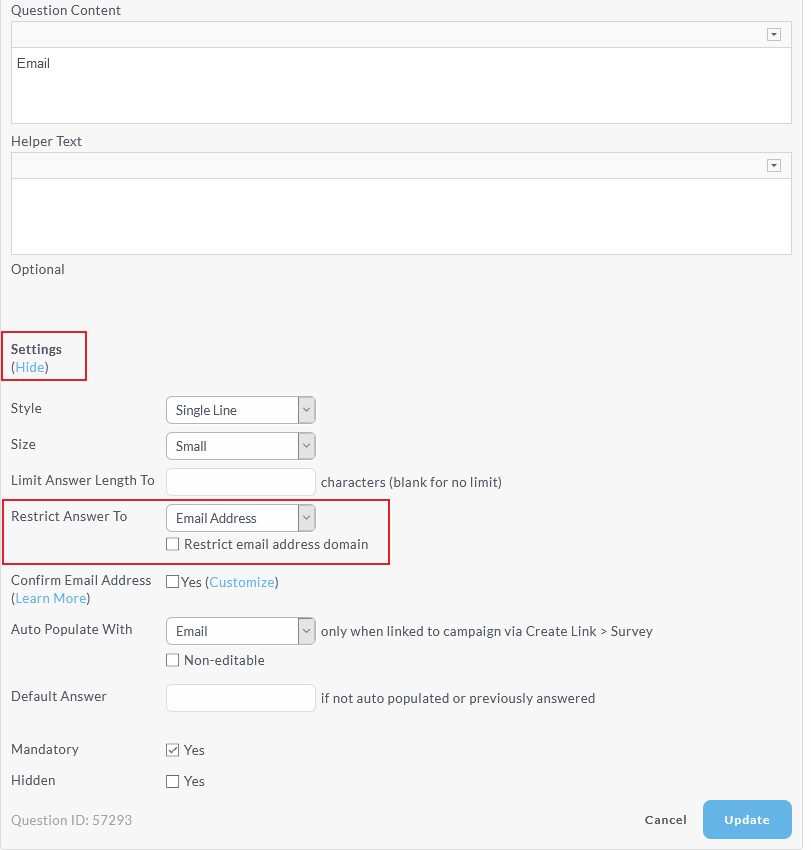
Now that the confirmation page is complete, navigate to the "Form" page and insert the fields you'd like to collect from your respondents. You must always include the "First Name", "Last Name" and "Email" questions as these are the minimum fields required to add your respondent's details into a contact group. You should make all these fields mandatory before a respondent can submit.
On the "Email" field, be sure to restrict the answer to only accept an email address:
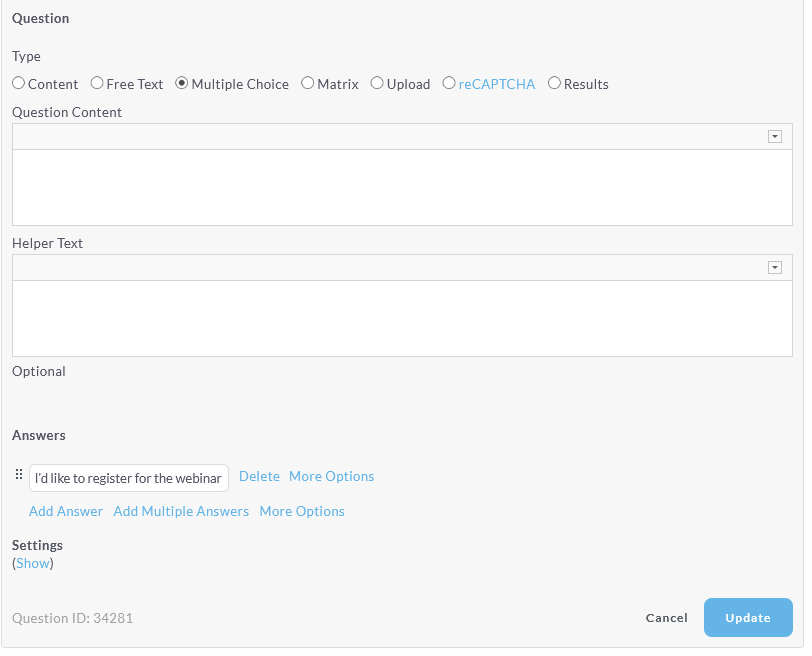
Once the contact detail fields are complete, you need to include a multiple choice question asking the recipients if they would like to attend the event:
Now that the form is complete, let's take a look at the actions. You will need to set up actions for the "Form" page by clicking the drop down button.
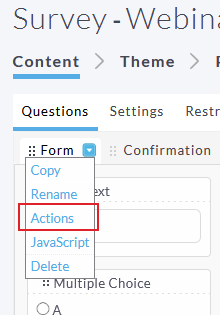
Setting these up will allow you to trigger certain action types such as adding contacts or sending notification emails. For more information about Actions, please click here.
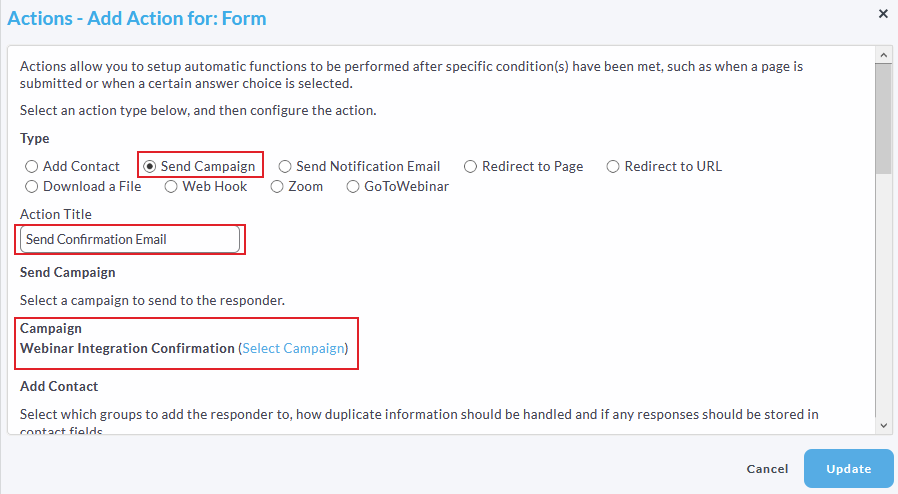
The first thing we will want to set up is an action to send the confirmation email you created earlier to the recipients who say they are attending the event.
Select the 'Send Campaign" action and add a title for your action, then select your previously sent confirmation email from the list:
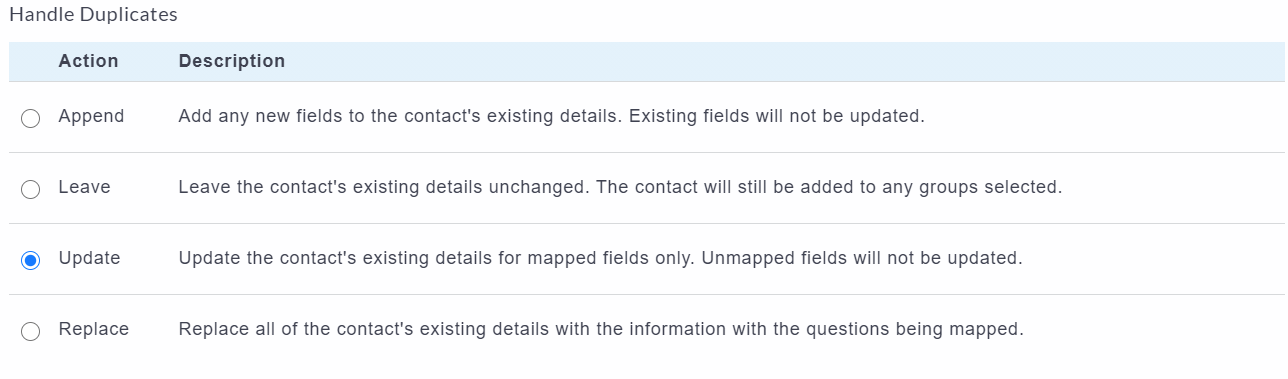
Choose how you would like to handle the data. For this step, if you choose update, the confirmation email will go to the email address entered rather than the original recipient email.
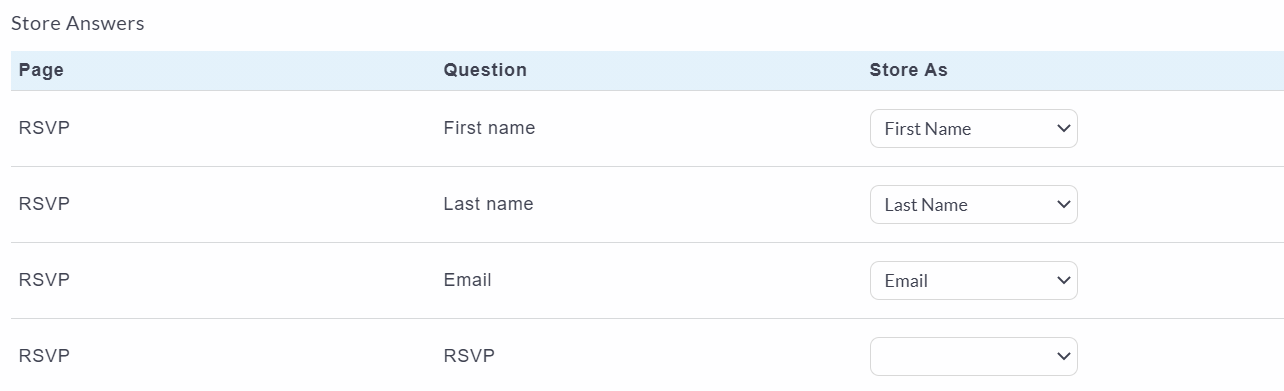
You also need to map your questions in the form with the contact fields like so:
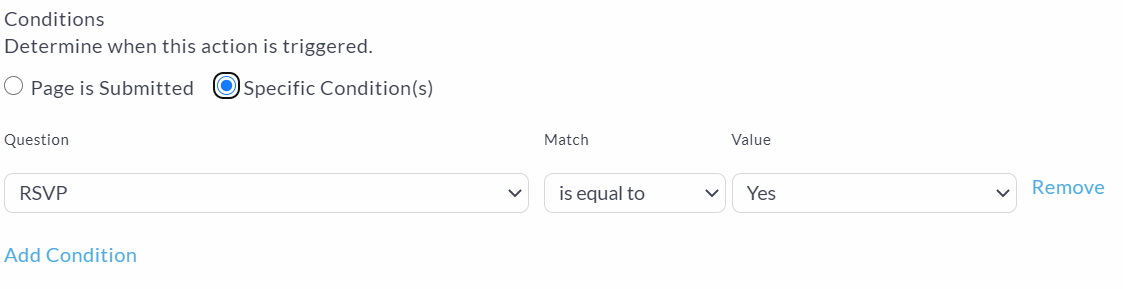
Once all of the fields are mapped, you will need to set the conditions under which this
action is to occur. In this instance, we need the condition to trigger when the recipient selects "Yes" to the RSVP question:
Save your action by clicking the "Update" button.
Now you are ready to link the survey to your webinar platform. In the actions menu, select the provider you are using and click the drop down to select the event you'd like to add attendees to:
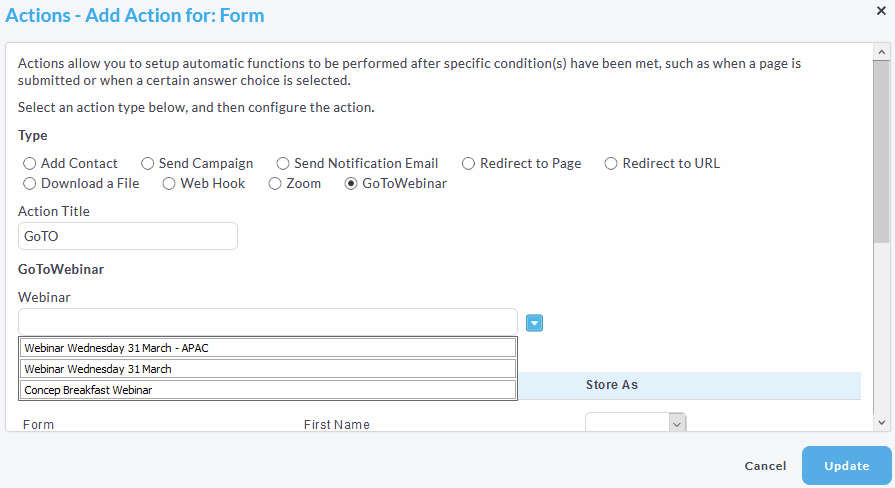
Map the fields from the form to how you would like them stored in your webinar platform. Note - you do not have to store all fields from the form, as your webinar platform might limit what data it allows for registrants. Selecting only the basic contact information is sufficient.
Click "Update" and then "Save and Close" on the actions pop up.
Now that your survey is ready, you can go back and link it on your call to action on the invitation email. Once you've created the link to the survey in your invitation, you are ready to send.
Once your event has been sent, you may want to create a reminder email. To find out more, please click here.
Comments
0 comments
Please sign in to leave a comment.