
Mail Merges are handy when you are sending out a large email to many recipients, but also want to have a touch of customisation.
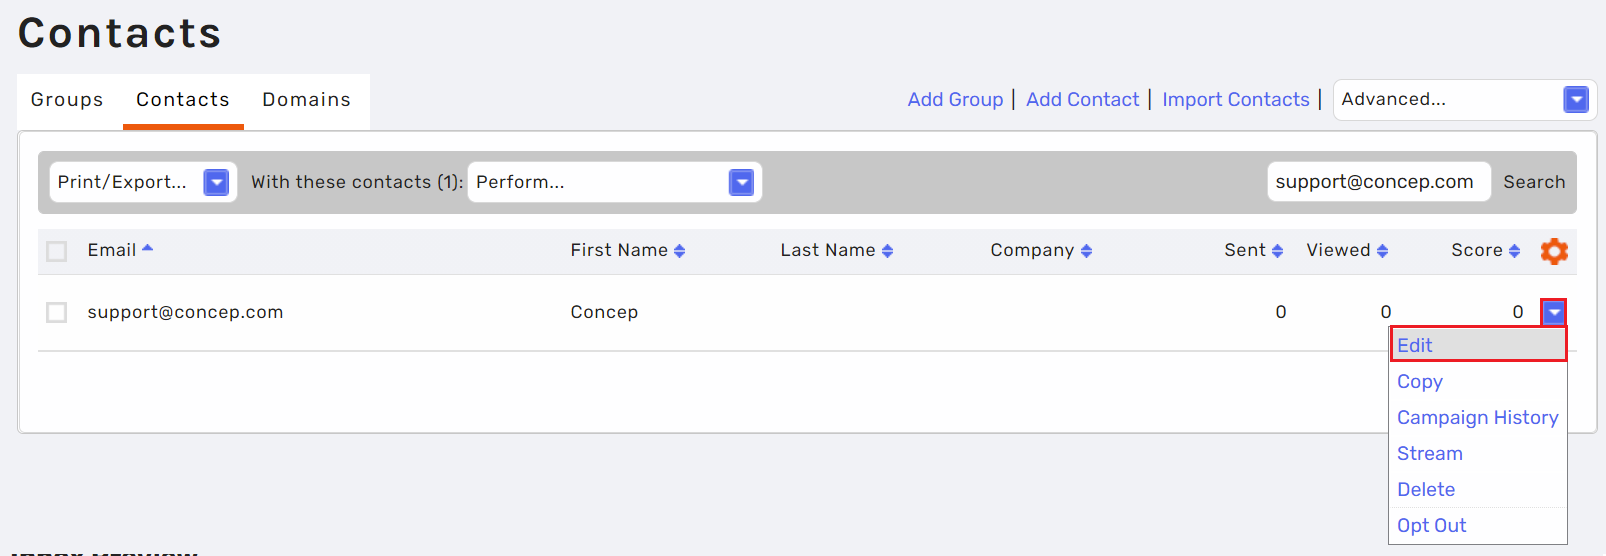
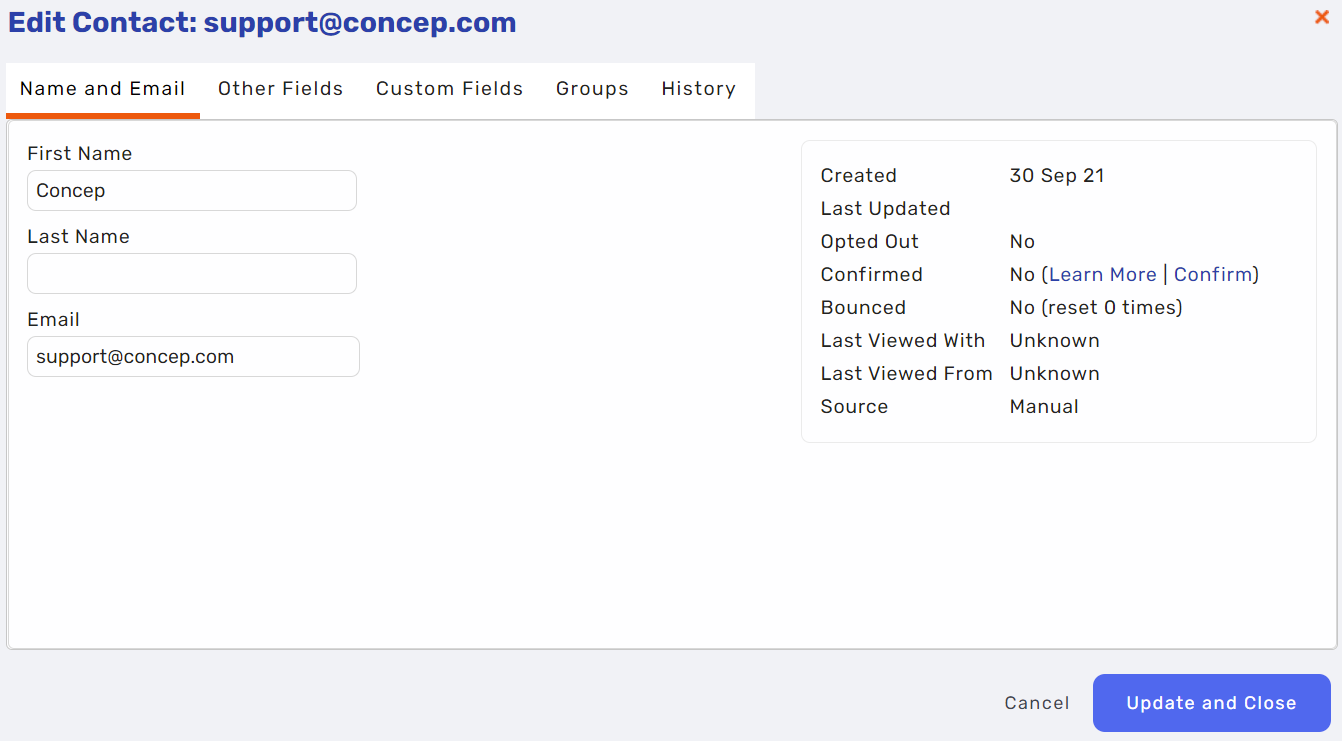
Starting with the basics, the most common Mail Merges used are the foundations which make up a contact (i.e First Name, Last Name and Email). You can find these fields by navigating to Contacts > Drop down menu next to the contact > Edit. You will then see three tabs: Name and Email, Other Fields and Custom Fields.
For a Mail Merge to pull through correctly, you will need to make sure that each of your recipients have a value set to the relevant fields. You can do this from either manually filling in each field, or by putting all of the details in a spreadsheet, re-import the data and select the Update option when handling duplicates. If you need a refresher on how to import contacts, please follow this link.
The primary fields are a combination of Name and Email and Other Fields but you can also add in extra fields that will sit under Custom Fields. You can create new Custom Fields from Contacts > Advanced > Manage Custom Fields > Add Field. From here you'll need to enter a Name and Type. You also have the option to add a Fallback Value. We will only be covering the basic mail merges for this article, so for more details of how custom fields work, please refer to this article.
Once the relevant contacts have values inserted next to the fields you are looking to use, it's time to insert them into your Campaign. Navigate to Campaigns > click into the Campaign or create one from scratch.
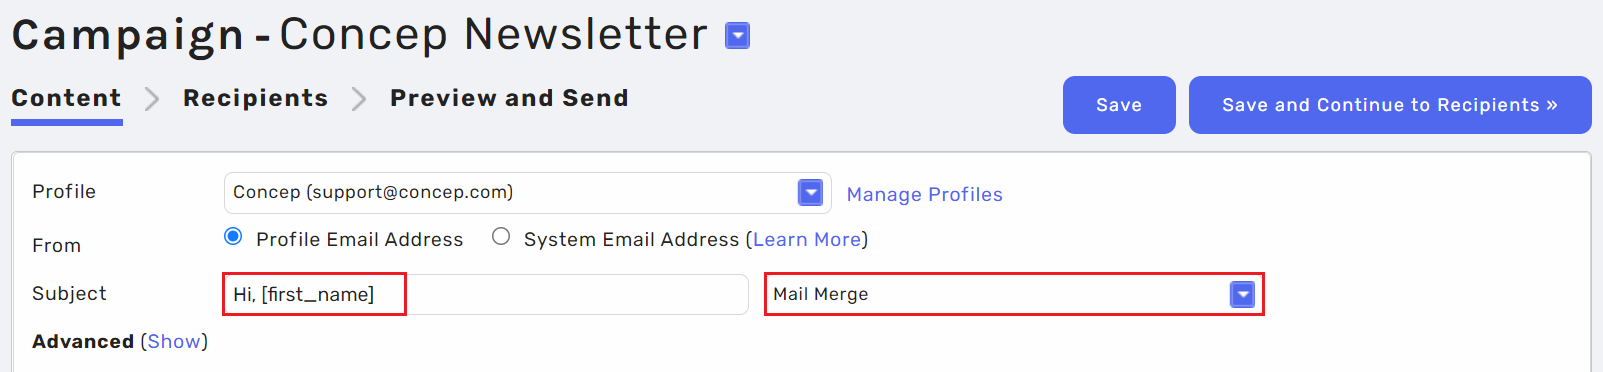
There are two ways you can use recipient Mail Merges, the first being in the Subject bar and the second being in the Content area. To customise the Subject Line, click the drop down menu next to Mail Merge and select which Mail Merge you would like to use.
To include a Mail Merge in the body of the Campaign, you will need to click into the Content area so the toolbar pops up then click Insert > Recipient Details. From here you will see a list of the contact fields we went over in the beginning of the article, along with two additional sub tabs Custom Fields and Recipient URLs.
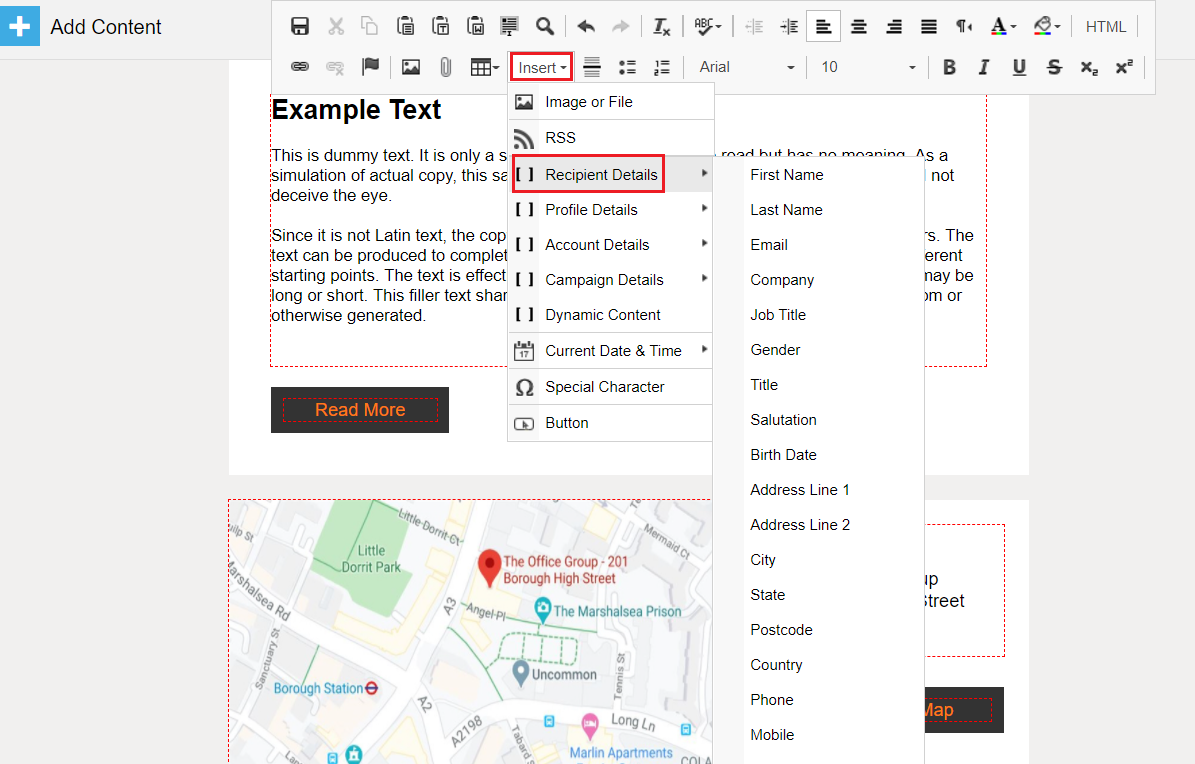
Recipient URLs are a bit different to the basic Mail Merges as these will include links that are specific to the recipient. This includes View URL, Unsubscribe URL and the Preference Centre.
As well as recipient Mail Merges, you can also utilise the Profile and Campaign details by hovering over Profile Details and Campaign Details.
When the field is inserted, it will show in the Content area like this  . But, when sent out, it will auto populate with the recipient details.
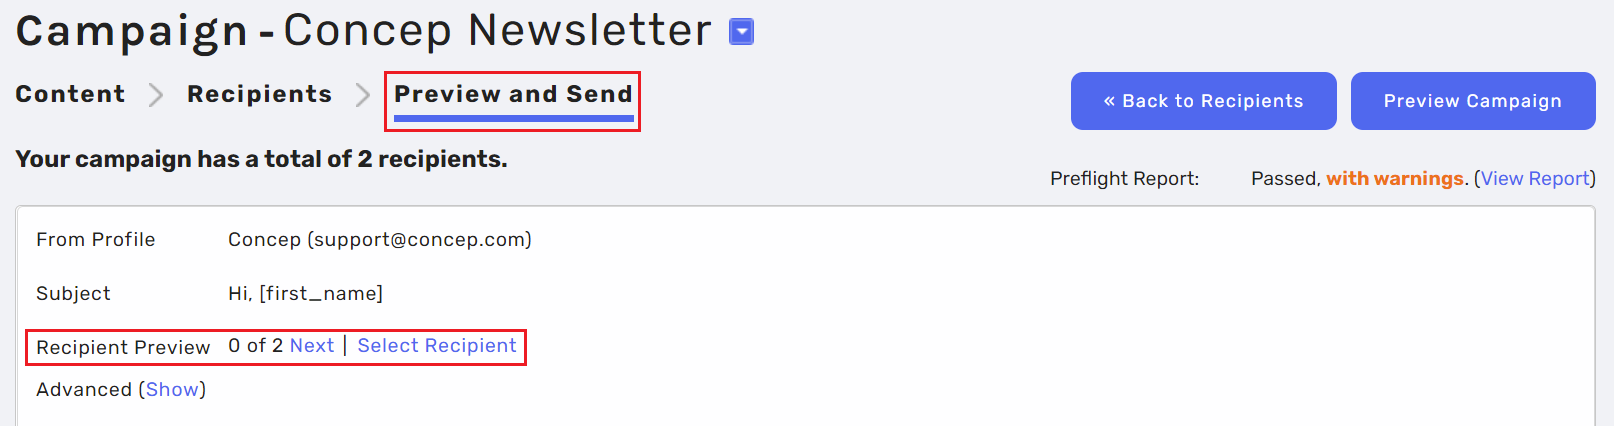
After inserting all the fields you would like to use, select the recipients for the Campaign and continue to Preview and Send. Before sending, you can preview the Mail Merges by recipient, to see if the field is pulling through correctly. At the top of the Preview and Send page you will see the Recipient Preview option, from here you can click through all of your recipients to preview how the Mail Merges will look in their inbox.
 |
Go to Insert > Campaign Details > Date & Time Sent to insert the day/month/year the Campaign is sent to make sure your Templates will always automatically update to the correct date. |
Comments
0 comments
Please sign in to leave a comment.